Skip to content

Setup & install

Two ways to power it.
Pick one, then watch.

Both kits are in the box. One plugs in under the dash; the other hides the cable for good. The hardwire kit ships with every H2; the OBD-II adapter is free with this batch, while supplies last.

Three videos below, filmed on the real kits · No tools you don’t already have

01  ·  Choose

Which one is yours?

Both give the constant power the parking watch needs. The difference is how much of the cable you want to see.

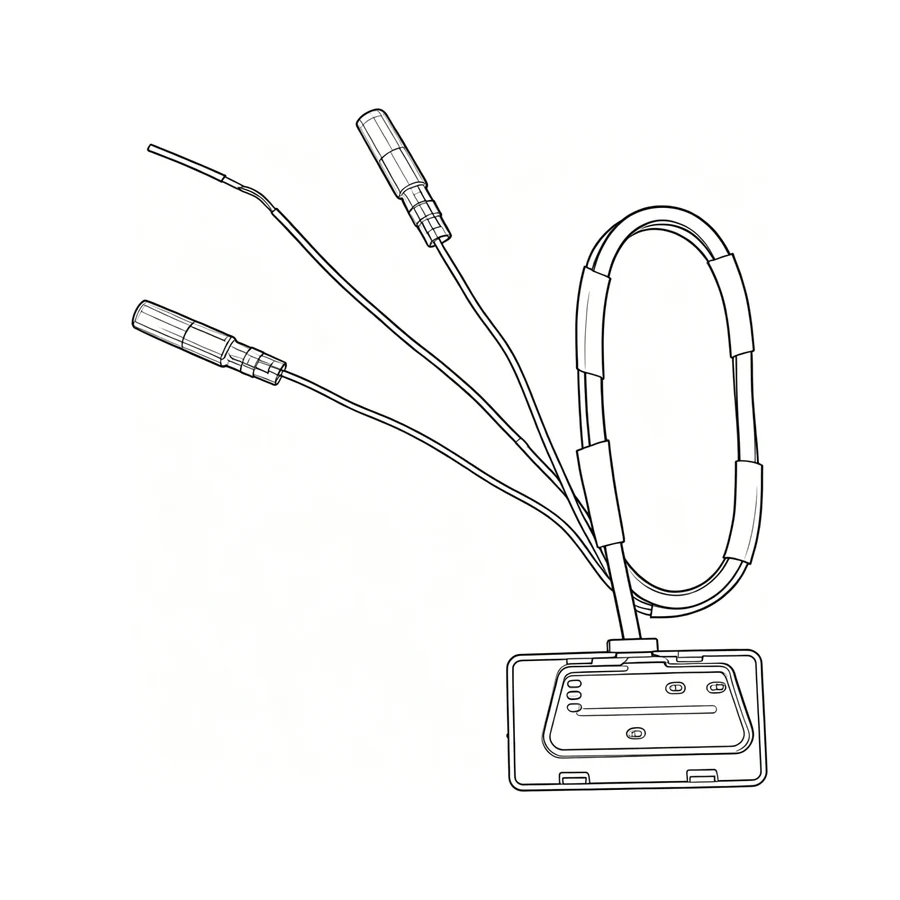
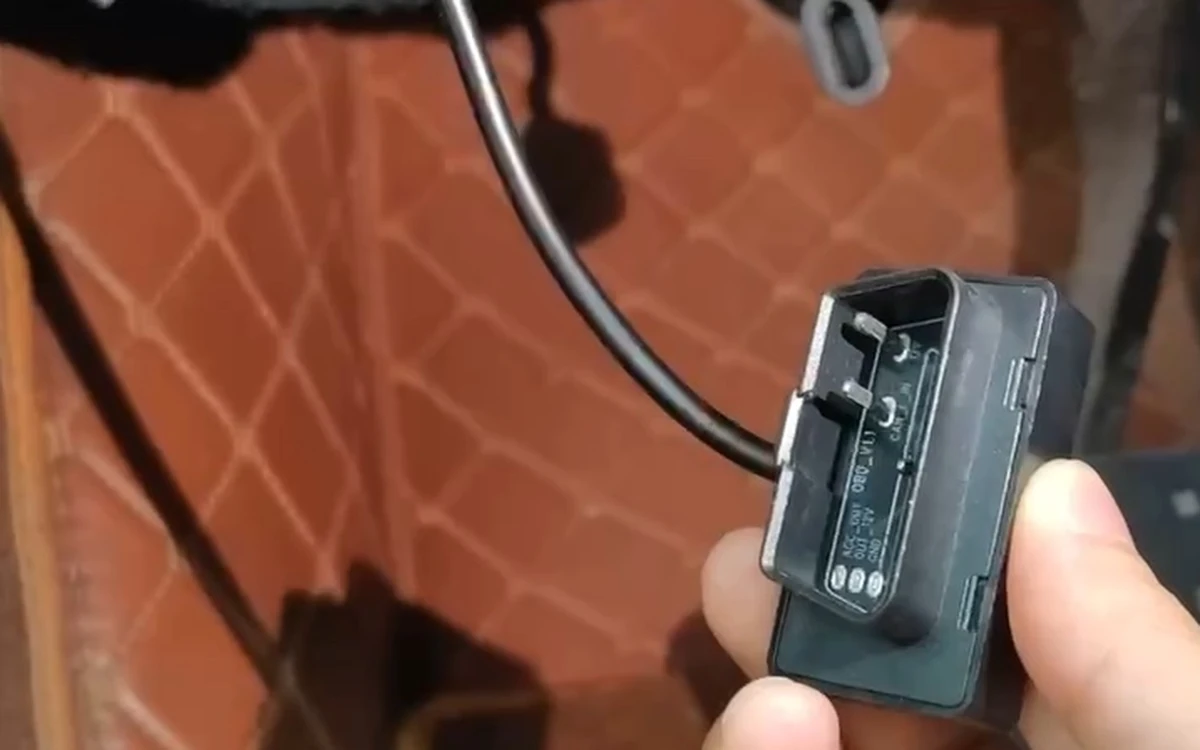
The OBD-II adapter in hand, its 16-pin connector facing the camera
The simpler of the two · free while supplies last

OBD-II adapter

Find the OBD-II port under the dash — most cars have it near the driver’s left knee. Plug in, tuck the cable along the headliner and down the A-pillar. No fuse box to open, no fuse taps, and nothing to undo when you sell the car. The supplier’s own video still treats any 12 V install as a job worth doing carefully — read the steps below before you start, and use a shop if vehicle wiring is not your thing.

One thing to check first: on some vehicles the OBD-II port goes dead when you switch the ignition off, and the parking watch needs power that stays on. If the camera shuts down with the car, the port is a switched one — use the hardwire kit instead, it is in the same box. Hybrids, EVs and cars still under a dealer warranty are worth a note to us before you plug anything in; the port is also where a shop connects its diagnostic tool.

Jump to the OBD-II steps ↓
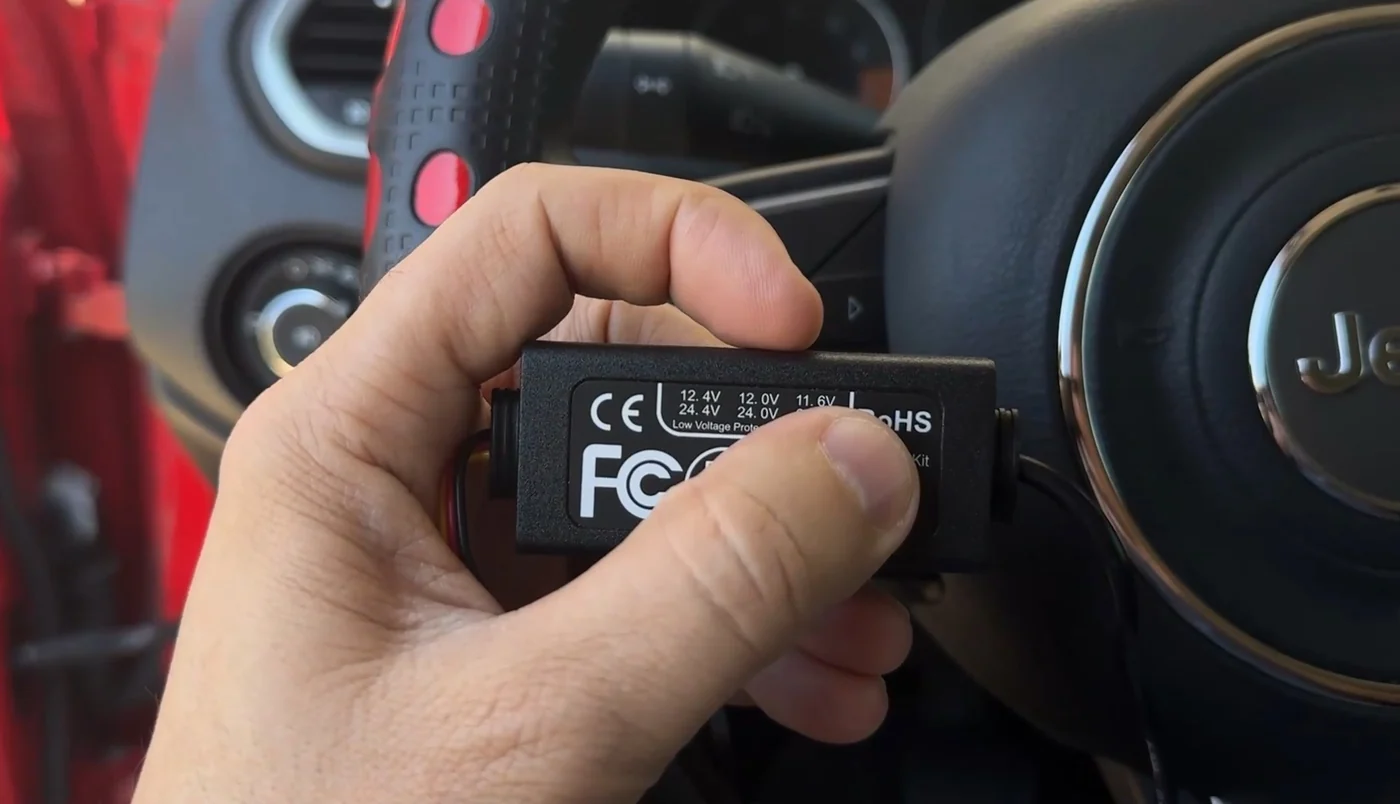
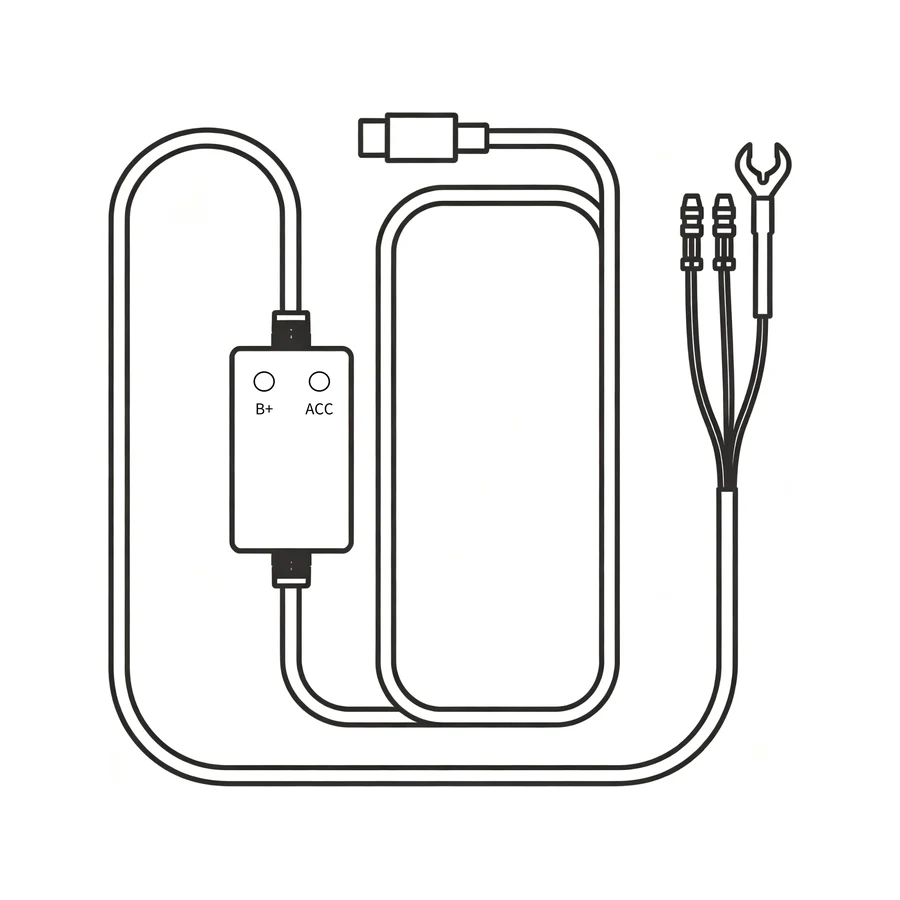
The hardwire kit’s low-voltage protection module
In the box

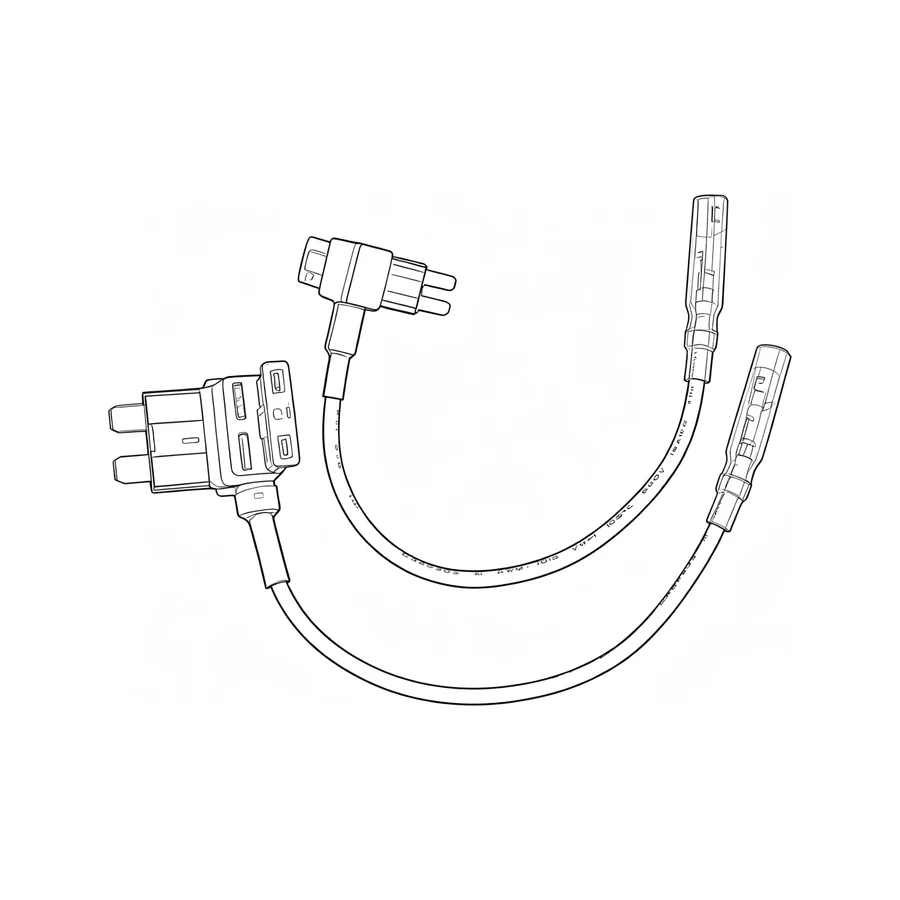
Hardwire kit with fuse taps

Yellow to a constant-power fuse, red to an ACC fuse, black to a ground bolt, using the fuse taps in the box. Nothing shows afterwards. Takes longer and means opening the fuse panel.

Jump to the hardwire steps ↓
02  ·  Before you tidy the cable away

Activate it while you can still reach it.

Pairing needs you standing next to the camera with Bluetooth on. Much easier before the cable is under the trim.

Read the steps instead of watching — word for word from the video

Activation Guide — H2 4G AI Sentinel Dash Cam. The video numbers its own screens, so these keep the video’s numbering rather than starting again from one.

  1. Activate the dash cam. The buttons on the unit are Power, Menu, Up, Down and OK.
  2. Step 3. After the download finishes, open the app to the home page. Tap the + in the upper-right corner to add your device. Scan the QR code to add your device.
  3. Step 4. Tap “Next”. Your phone will send a Bluetooth connection request. Once the confirmation pop-up appears on the dash-cam screen, briefly press the OK button on the dash cam to confirm the connection.
  4. Step 6. The device will auto-connect to the best-signal local carrier using its built-in eSIM. No manual setup needed. eSIM network configuration takes about 3 minutes. Do not exit the page or cut power to the device until pairing completes.
  5. Step 7. eSIM activation is successful. The app is pairing with your device. Please wait.
  6. Step 9. Device card appears on home screen. Tap for live preview.
  7. Step 10. Once pairing is complete, let’s continue configuring the device. Short-press the OK button to go next.
  8. Step 11. The device requires storage for recordings. Please insert a microSD card with at least 64 GB capacity.

Two notes on the video, which the manufacturer made for every market: your card is already in the slot — a 64 GB card ships fitted, so step 11 is done before you open the box. And the QR code in step 3 only tells the app which camera it is looking at; the pairing itself is the Bluetooth request and the OK press in step 4.

  • Install AIDOVIDThat is the store name for the SmartSF App — App Store or Google Play.
  • Turn Bluetooth on, stand closeAdd the device in the app.
  • Press OK on the cameraThe H2 puts the prompt on its own screen. Stay close until the binding finishes.
  • Aim it using the camera’s screenTilt until the road sits where you want it. You do not need the phone for this part.
03  ·  The easy one

OBD-II adapter — plug it in.

Read the steps instead of watching — word for word from the video

Important statement, from the start of the video. Installation requires tools such as a screwdriver and wrench, and involves moderate-level installation complexity. Do not perform the installation yourself if you are unfamiliar with vehicle electrical systems — to prevent vehicle circuit malfunctions, please visit an auto-repair shop and have a professional technician complete the installation. Use of the original hardwire kit is recommended; non-genuine cables may cause the parking-monitoring function to work improperly.

  1. Select a clean, flat area on the front windshield.
  2. Attach the static sticker, and ensure no gaps or air bubbles are left.
  3. Press the dash cam onto the static sticker.
  4. Route the cable up into the headliner, across, and down the pillar to the footwell.
  5. Locate the vehicle OBD-II port. Under the steering column, behind the interior trim panel above the brake pedal; or in front of the driver’s left knee, lower-left section of the dashboard. Some vehicles are equipped with a plastic dust cover marked with the OBD logo — simply flip it open by hand, no tools are required. The OBD-II port location varies across vehicle models. Please refer to your vehicle owner’s manual or search online to locate the OBD-II port for your specific vehicle.
  6. Connect the OBD-II adapter and hardwire kit. Peel back the protective sleeve of the OBD-II adapter. Plug and secure the fuse tap to the hardwire kit. Slide the protective sleeve back to cover all metal components.
  7. Plug the OBD-II adapter into the vehicle’s OBD-II port.
  8. Power on the dash cam. Start the vehicle. Correct wiring is confirmed if the dash-cam display lights up and operates normally.
  • Stick the mount on the glassBehind the mirror, out of your line of sight. Clean the glass with the cloth in the box first; use the static-cling film if you want to be able to reposition it.
  • Route the cableUp into the headliner, across, and down the passenger A-pillar to the footwell.
  • Plug into the OBD-II portUsually under the dash near the driver’s left knee.
  • Turn the ignition onThe camera powers up. Set the parking watch in the app or on the camera.
04  ·  The tidy one

Hardwire kit — tuck it away for good.

Read the steps instead of watching — word for word from the video

Important statement, from the start of the video. The dash cam draws power from the vehicle fuse box. Installation requires tools such as a test light (or multimeter), screwdriver and wrench, and involves moderate-level installation complexity. Do not perform the installation yourself if you are unfamiliar with vehicle electrical systems — to prevent vehicle circuit malfunctions, please visit an auto-repair shop and have a professional technician complete the installation. Use of the original hardwire kit is recommended; non-genuine cables may cause the parking-monitoring function to work improperly.

  1. Attach the static sticker, and ensure no gaps or air bubbles are left. Press the dash cam onto the static sticker.
  2. Route the cable along the headliner and down to the footwell.
  3. Locate the fuse box. Typically located below the driver-side dashboard, or underneath the passenger-side glove box. Fuse-box locations vary by vehicle model. Refer to your vehicle owner’s manual or search online for the fuse box position for your specific vehicle model.
  4. Locate B+(VCC) and ACC fuses by measurement. Power off the vehicle to prevent short-circuits or other circuit anomalies during measurement. Do not touch the metal contacts of fuses with bare hands during measurement, to avoid electric shock or circuit short-circuit. Tools to prepare: multimeter or test light.
  5. What the wires are. B+(VCC) is the positive power connection — connect it to constant power, which stays live even when the car is off. GND is the negative ground; attach it directly to a nearby metal screw. ACC is the signal wire that detects whether your car is running: it powers up when you start the car and cuts power when you shut it down, so connect ACC to a circuit that shows 0 V with the vehicle off.
  6. With the vehicle powered off, the B+(VCC) fuse remains live and the ACC fuse has no power — that is how you tell them apart.
  7. Wire colors. Red is ACC. Yellow is B+(VCC). Black is GND.
  8. Connect the fuse tap and hardwire kit. Peel back the protective sleeve of the fuse tap. Plug and secure the fuse tap to the hardwire kit. Reinstall the protective sleeve to cover all metal components.
  9. Install the removed fuse onto the matching fuse tap. Plug ACC and B+(VCC) into their respective power-tapping positions. Connect GND to a nearby metal screw for grounding.
  10. That completes the fuse-box power tapping and dash-cam installation.
  • Find the fuse panelUsually behind a cover in the driver’s footwell. The lid normally has a map of which fuse is which.
  • Yellow to constant powerA fuse that stays live with the ignition off. This is what lets the camera watch the car while it is parked.
  • Red to ACCA fuse that goes live when the ignition turns. This is how the camera knows you are driving.
  • Black to a ground boltAny bare metal bolt on the chassis behind the trim.
  • Test before you close it upIgnition on — the camera starts. Ignition off — the parking watch takes over.

Low-voltage protection ends the watch when battery voltage drops below the threshold, so it stops instead of drawing the battery down any further. If the fuse panel is not something you want to open, use the OBD-II adapter instead — it is in the same box.

05  ·  You already have everything

Every part this install needs is in the box.

The adhesive mount is on the camera and the 64 GB card is already in the slot.

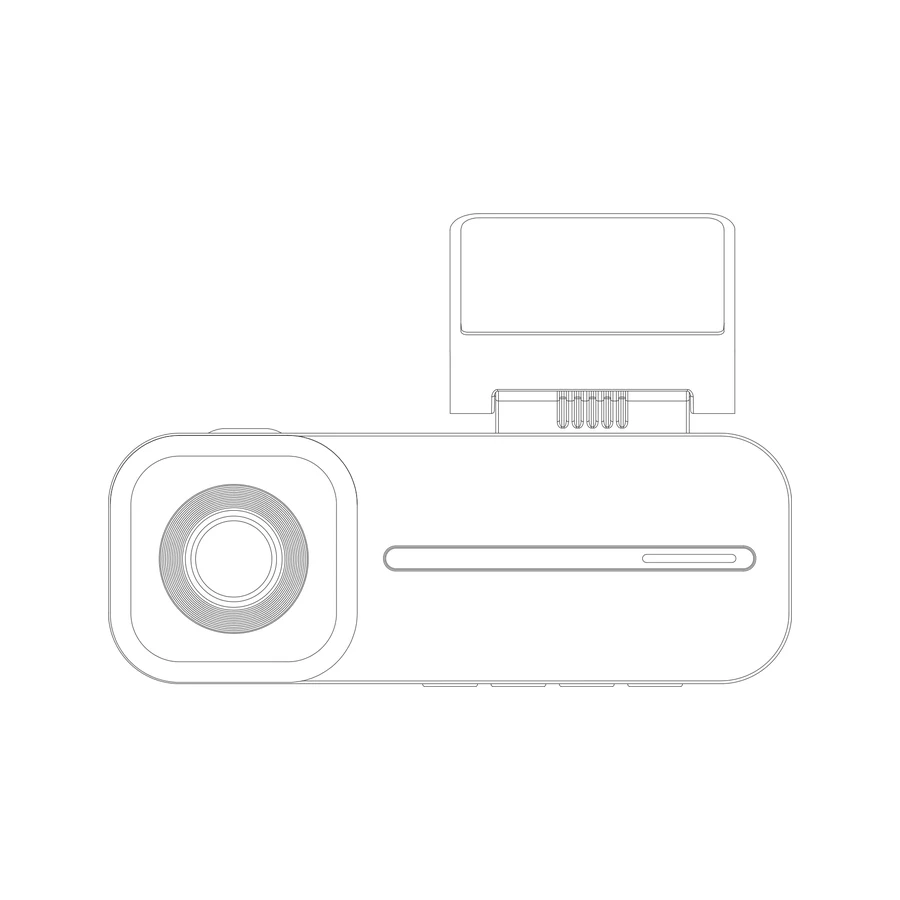
H2 camera
H2 · road + cabin
Hardwire kit
Hardwire kit
Fuse taps
Fuse taps
OBD-II adapter, free while supplies last
OBD-II adapter
User Manual
User Manual
Static-cling film
Static-cling film
Spare adhesive pad
Spare adhesive pad
Cleaning cloth
Cleaning cloth
Three things to do before you drive off. Check the clock and time zone on the camera so the timestamp on your footage is right. Decide about the microphone — audio recording is switched off from the factory, and the Down button turns it on or off. And set how long the parking watch runs: either mode is set for up to 24 hours at a time.

That booklet, as a PDF — easier to read in the car than the printed one, and it has the wiring notes for both power routes.

Stuck halfway?
Don’t guess at the fuse box.

Write to us with a photo of what you are looking at and we will tell you which wire goes where — or tell you to use the OBD-II adapter instead, which is often the right answer.

support@smartsfweb.com

A person reads it · Full manual in the box · Common questions

$179
Buy the H2